Showing posts with label wilderness systems tarpon 140. Show all posts

Monday, March 24, 2014

Fishing the Mississippi Gulf Coast


                It’s been a while since my last post but I will bring you up to speed from my last trip in January.   
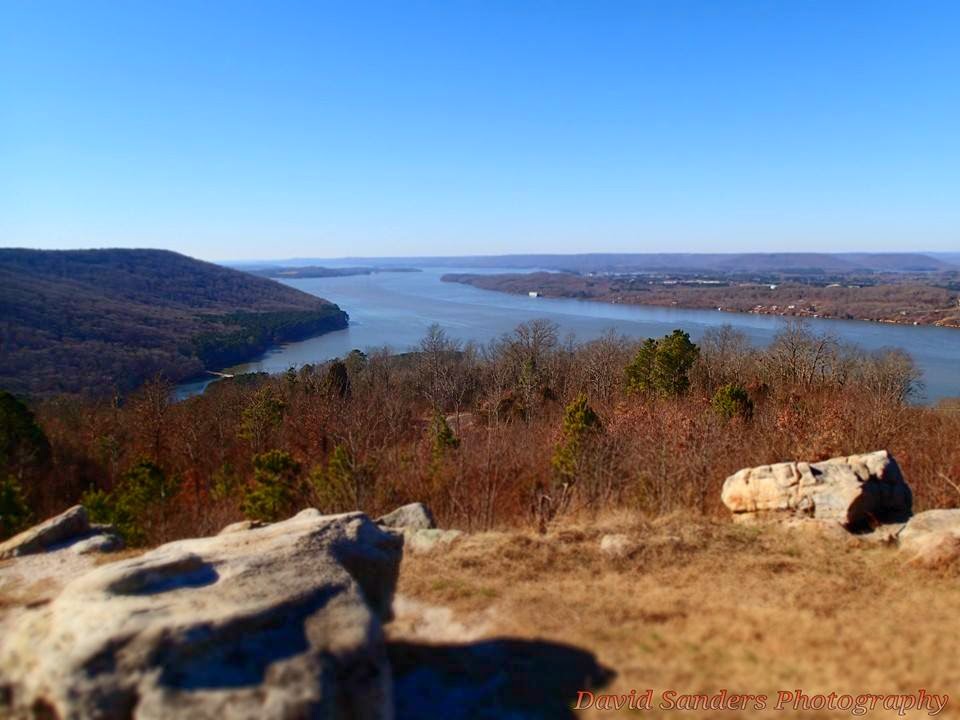

To start the new year off I was sent to school for a month In Gulfport Mississippi.  First stop along the way I made my way through Alabama to see family and friends around Guntersville Lake but due to weather I was unable to fish my home waters so that will have to wait till next time.


Around Montgomery Alabama I was able to meet up with my long time brother and best friend from school, Tony.  We were able to have a good breakfast which made for a good pit stop before finishing the last leg to Gulfport.


Now when you think about fishing in January you think of cold water fishing like my post Until My Toes Say Its Time To Go Home, but what I found on the weekends were nice 60 to 70 deg temps for most of the time I was there until the cold snap at the end of the month.  The days I did fish were spent in a T-shirt and waders. 

Finally in Mississippi all checked in to my room and school I had a few days to do some scouting with google maps and just some driving around.  During the week it was all school and at night I would get to chat with my family on Skype which it was always a blessing to see the kids. It made me wish they were there with me to enjoy the adventure.


  With the first few trips in this new area I was skeptical about finding some fish but I changed up some tactics a bit and started reading some of the local forums like MSKayakFishing and The Bull along with talking to people I met while out fishing.   Out of everyone I met I was always greeted with kindness and respect from fellow anglers.  Everyone I talked to or contacted in any way were freely giving advice and help which started getting me zeroed into the fish I was looking for.

A few people I ended up fishing with lead me to an area around the Wolf River off a corner of Bay St. Louis.  With everything I have learned from the locals there I put my skills into action.  The first few days, I slowly fish the deep holes hooking into some nice sized Speckled Trout slowly jigging some Paul Brown Devils.  


There I met up with Jimmy and BJ.  Some great guys to fish with and on the way back in we got a little fun tow that saved us a bit of a paddle after a good day out on the water.
 

But I still needed to get my Red.   I hooked up with a few good ones that shook my hook so I looked for some more assistance.  This day I met up with Nate and he took me to an area that he has always had some luck.  This was a windy day but we went out that evening when he said the bit should turn on.  This go around we were chunking top water lures and we were about to give up when Nate hooked into his largest Red at about 33 inches.  Water temp was in the 50s and depth was at the 2 ft. mark.  Then on we just kept chunking and chunking the lures till it was time to go.   

That was my last trip out and I met some great people the whole time in Gulfport.  I will say that this an amazing area to see for the angler to experience and I’m sure that during the warmer months of the year this area would be excellent to fish.  I will have to wait for another time to get my Gulf Coast Red but at least I got to see a good sized Gulf Coast Red hooked up in January. 


Until The next trip and thanks again for all the help from some great people in Mississippi.


Tuesday, February 12, 2013

The Evolution of Kayak Transport

So when you buy a kayak think of how you are going to transport it around. Be it on a car or in a truck. This is my tale of what I have experienced though out the last year. It all started with one kayak, but with having a large family I found my one-man fishing fleet quickly grew from one to four. With that said most would go about the usual way and buy something from Yakima with all the bells and whistles if you have the money for a rack / bed extender.  Myself being a welder, I took the route of making my own racks / bed extenders for my truck. And boy does it get the job done!

To start, one bare bone kayak with the need to get covered in fish slime and marsh mud.

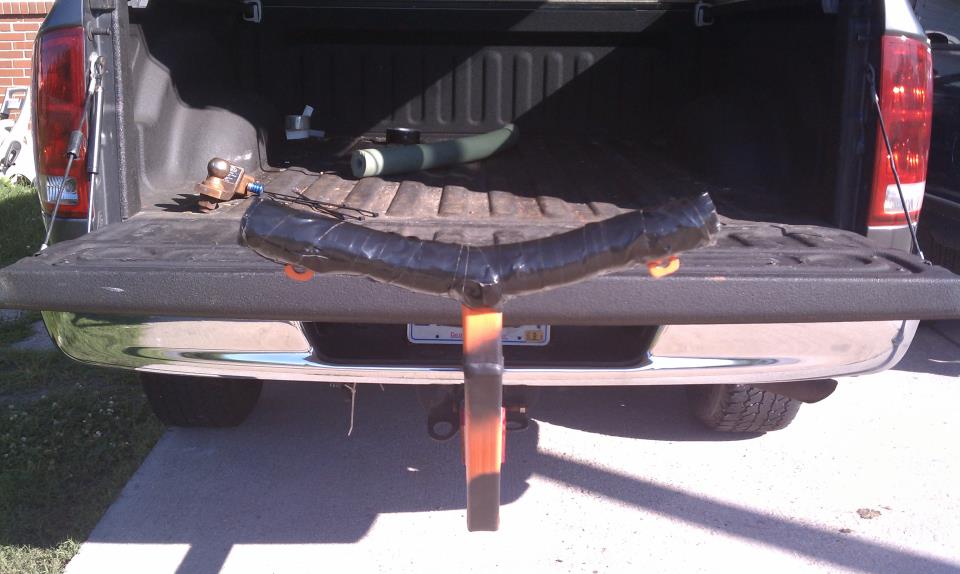
Next, I had to figure out what I was going to build and the materials I was going to use to construct this yak fishing helper of a contraption and get to work.  I had some left over materials from a trailer build I had done previously.  So I started working on a single battle yak carrier.  This battle yak carrier would mount to the yak-battle wagon (aka my truck) via the tow hitch.  I welded it up, ground and smoothed the edges out.  I also tricked my kids into manual labor by telling them how fun it is to help with projects.


Phase One - The single yak carrier set up I first made was quite simple, and it’s very quick and easy to hook up.  It makes loading and unloading of the kayak fast and extremely easy.  It also made it possible to go to different areas in the same day to fish if I wanted to.  This system was great for the one yak but as time went on, I found that more yaks I owned meant the need to adjust the yak carrier and make it more accessible to carry more than one.
Now Phase Two of the yak carrier was in effect...
 
Armed with the same help from my kids as before, it was now time to redesign the battle yak carrier from a single to double.  After a slight modification in the original design, plus some cutting and grinding along with a little touch of paint, the finished product came out amazing.  It can now make a few fishing buddies have a great time so they too an get in the water for some fishing action.


Now by this time I could carry a total of four kayaks.  Two on the yak carrier and two more stacked on top of them, but the max that I’m doing with this trip was three due to all the extra fishing gear we were taking with us.  I didn’t want to take the risk of damaging any rods with a fourth yak that would be stowed in the bed of the truck.
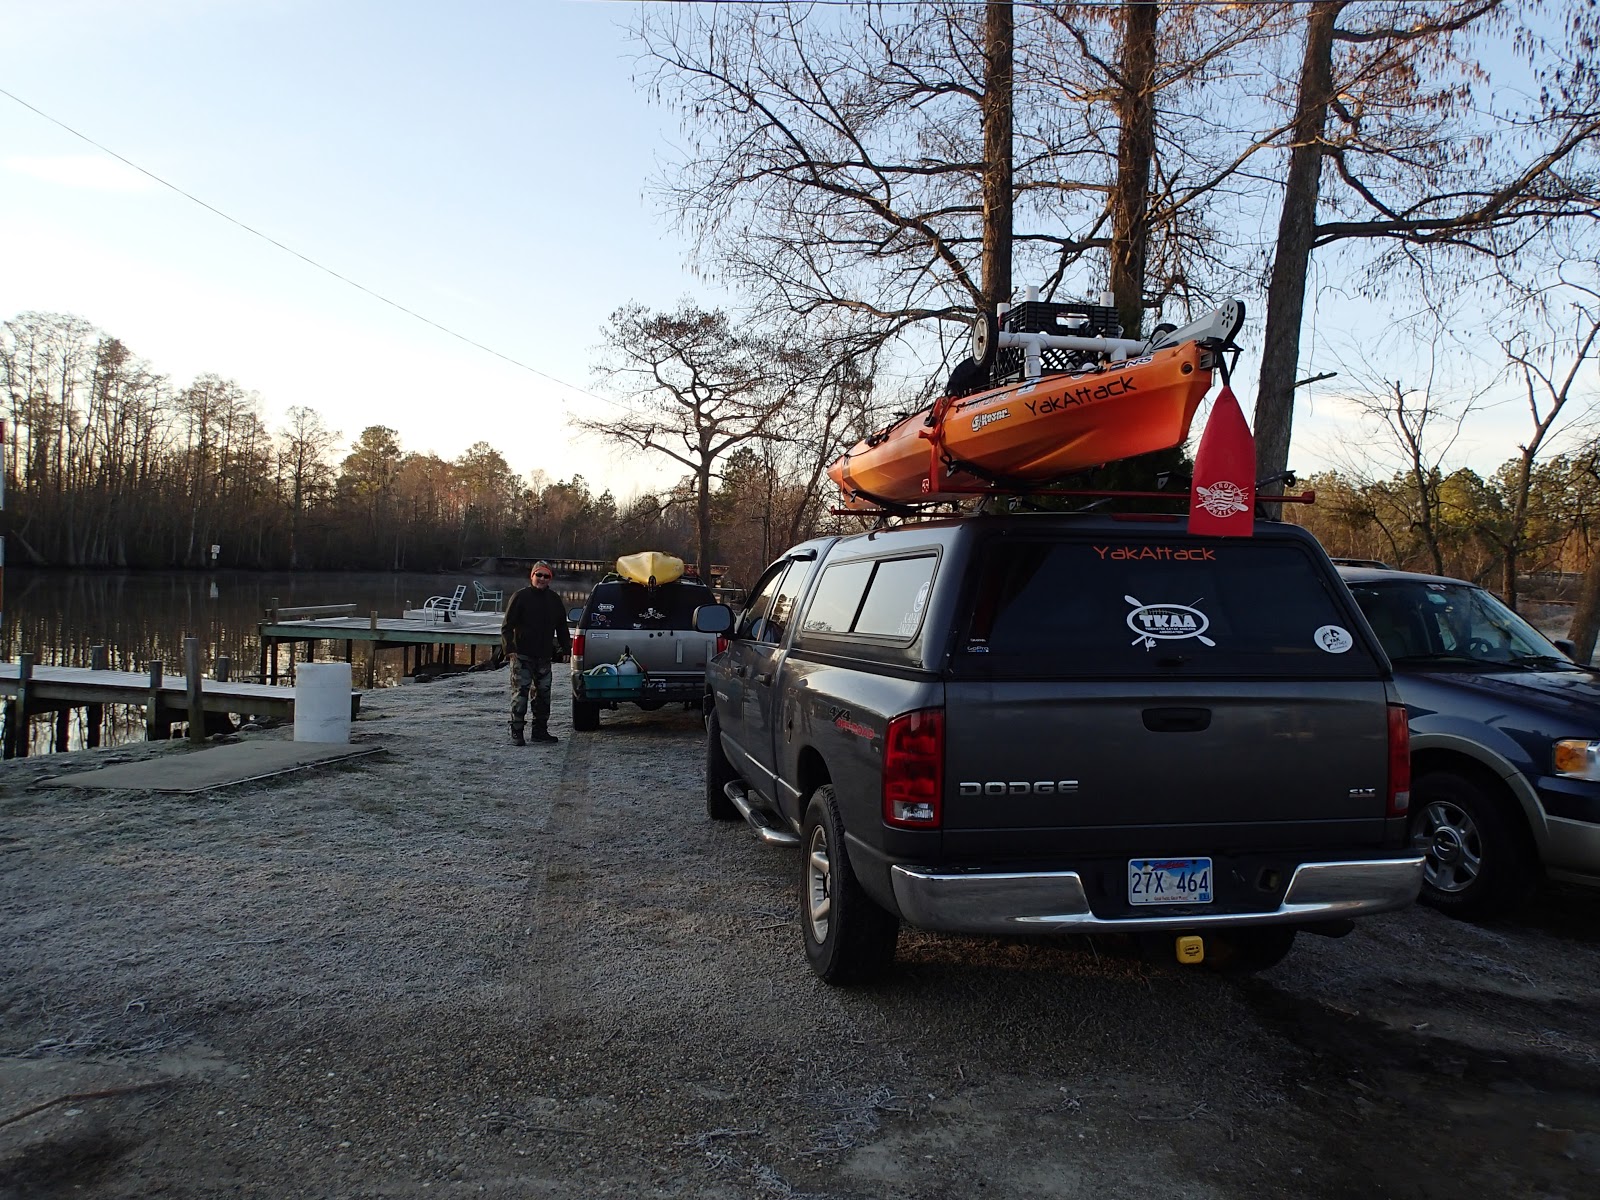
Phase Three - The next step, but not the last.  I’ve been working on a plan for the Yak-Battle Wagon.  I’ve taken some time on this one.  I wanted to make sure it looked and functioned. I have looked around online and stalked around a few parking lots armed with a tape measure to gather a few ideas.  I was able to come up with a design of my own for the Yak-Battle Wagon.  It’s a kayak rack to mount on top of the camper.  After about two weeks of pondering and doodles on paper I was able to whip two of these up in about 4-hours.

Took me a bit to get the angle right on the pads to bolt down but after a while things worked out.

 
 This is how I made the bends for the kayak saddles.  A little portable press brake I made a few years back.  It comes in handy every now and then.


Time for the fun part again.  I got the grinding done and got the kids to work on the prep for paint.  I Love my little helpers.  Gave them some sand paper and let them go.  Presto, I was able to paint.


With the primer all dry ad some color to make some things pop and it was time to work on the placement for mounting the rack to the top of the camper shell.


Phase Four - Time to finish up the yak saddles.  Oh there going to look sweet…


All primed and painted.
Time to do some drilling. 


For what I chose for the material to cover the saddles with; I went with Rigid HDPE Polyethylene Marine Grade Sheet, 1/4" Thick, 24" x 24", Black from McMaster-Carr.  I ordered it and it was shipped by the next day.  Great customer service from this company.  Before deciding to go with this material I figured I'd email an expert on this type material and pick his brain for how to best work with this material for shaping it.  So I emailed Luther from YakAttack.  A master of his craft with everything he has done with this sport and always willing to help someone out.  Thanks Luther. 
 

Cut the material to length and ripped it to 6-inch widths.  Rounded the corners, heated the bends with a heat gun then bolted everything together after countersinking the bolts.


I didn’t have a good countersink bit so with the heat gun I heated the bolt areas and sucked the tapered bolts into the plastic.


Time to bolt everything to the rack and place it on the camper now.


Now isn't that the greatest thing you ever saw.  LOL

Now with that all done, it was time to strap down the kayak on the truck and get it out on the water in the morning.


Hope you enjoyed my little project and I will see ya on the water.
Tight Lines Everyone. 
 
UPDATE!!!!
The newest mod for the new truck. Needed to get this in here.

 
Of course I painted the bars to match the truck.


I finished this a while back but figured itneeded to get added.
Enjoy everyone.