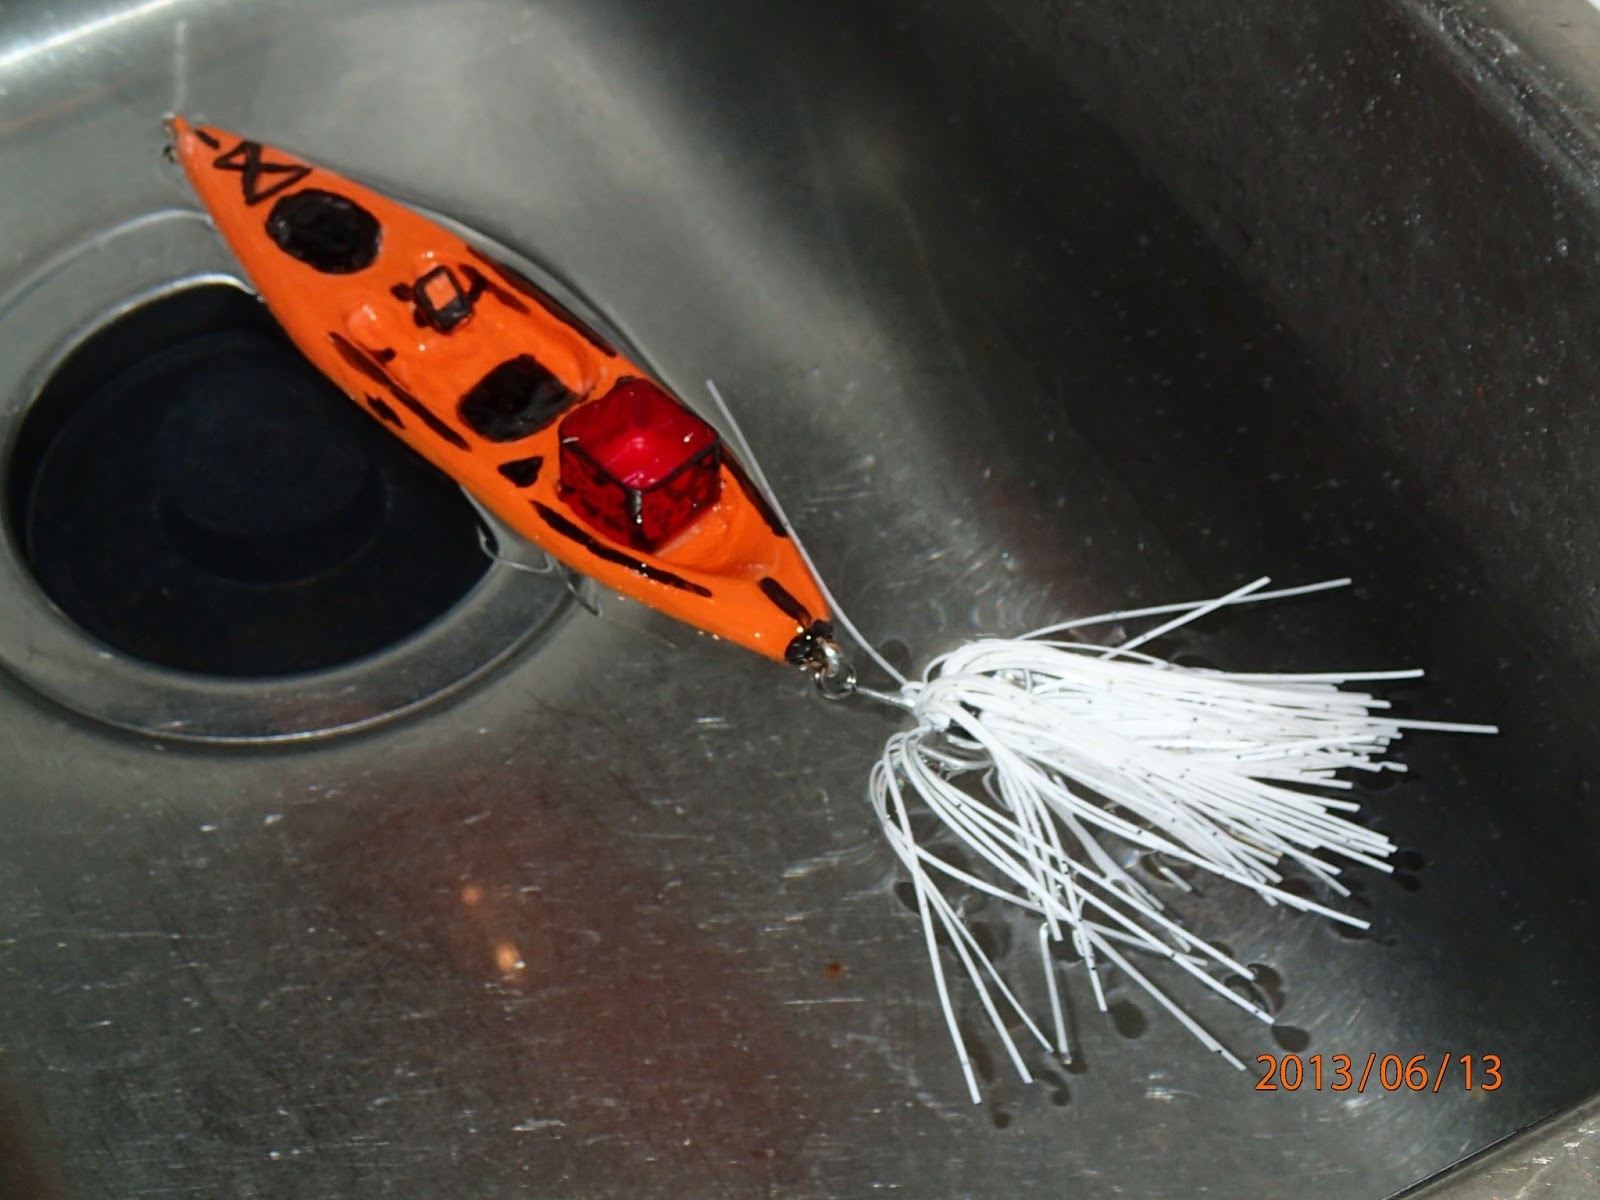
The Kayak Fishing Lure
By David Sanders
also seen in
Kayak Angler Magazine Online
https://www.rapidmedia.com/tackle-kayak-fishing/item/1437-diy-kayak-lure.html
By David Sanders
also seen in
Kayak Angler Magazine Online
https://www.rapidmedia.com/tackle-kayak-fishing/item/1437-diy-kayak-lure.html
This is a project that I have wanted to do for a while. I thought how cool it would be to make a lure that looked like a kayak. Here is how I completed this build. With a little imagination and some things you could find in your junk drawer you can make one of your own.
ü Soft wood
ü Pencil
ü Fast drying 2 part epoxy with small mixing cup and mixing stick
ü Knife and or a scroll saw
ü A hand die sander/ grinder tool or similar
ü Paint and brushes
ü Spray on polyurethane
ü Hooks
ü Sand Paper
1. Take some soft wood and cut it down to what you would think your own kayak would be scaled down. For this build I used some 1 ½ “x ¾ “furring strips from a local hardware store and cut it to 5 ½ “long.
2. Next I drew some guide lines to reference the shape of my kayak on all sides. These lines will help keep you from cutting to much out of one side than the other and retain a even look in the end.
3. Now with a sharp knife or scroll saw cut out the general shape of your lure. Don’t worry about shaping it much until you have carved out the seating and cargo areas. By doing that you will be able to have a more stable base to set the kayak down while you carve the seat and cargo areas.
5. Added to the look of this rigging party I took a golf tee and with the die sander I carved the head of the tee to look like my fish finder. Once satisfied I drilled a hole for the placement then glued it in. That will help it get to the fish. Next I found a small plastic square tube and cut the bottom out to resemble a milk crate
6. After you have sanded it smooth, dust it off and proceed to the painting process. At this time I glued the eyebolts in with the epoxy then applied a sealcoat on the wood. That will help water proof your lures and made it ready for paint. Seal and paint your lure in a well vented area.
8. Once all paint and detail have been applied I then spayed the lure with clear polyurethane and let dry. One or 2 coats is all I needed.
7. Glue in your milk crate with the 2 part epoxy.


I wonder how it would do in the ocean. :D
ReplyDeleteIt worked good. But going to take the skirt off the tail hook to see if I can get more action out of it. With all the shark sightings it would be cool to set up a small camera on it some how and get some top water video. LOL
DeleteThat is super cool man.
ReplyDelete